Mutation Testing badge with Pitest and Stryker Dashboard
Over the years, badges have become a way for open source maintainers to show the state of their product. Badges can give a quick overview of the code quality, test coverage or build health of an open-source product. The problem with code coverage is, however, that a high coverage doesn’t mean the tests are any good. If only there was a way to show the quality of the test suite…
A good tool to assess the quality of a test suite is “mutation testing”. In the remainder of this post, I’ll quickly introduce you to the concept and tell you how you can measure it yourself on a Java project.
Update (July 2022)
I’ve now made the integration a lot easier. See this blogpost for the announcement, or head immediately to GitHub to get started. The original text of the post is kept below for reference.
Wait, “Mutation Testing”?!
In short: mutation testing changes the “system under test” and verifies that this change (“mutant”) is detected by a failing test. If a test fails, the mutant is “killed”, otherwise it “survived”. Of course, we don’t want surviving mutants :-).
Curious how that works? The excellent Introduction to mutation testing article gives you a more detailed explanation of the concept. Also, the RoboBar tutorial walks you through the concept and lets you experience first-hand how code coverage of 100% could mean that only 60% is tested.
Both the article and the tutorial are written by the team behind Stryker Mutator. Stryker Mutator was originally developed for JavaScript and Typescript, and later developed tools for Scala and C# as well. Why not Java? Because Java was already covered with Pitest since 2011. Pitest is now at it’s 1.5.x releases and still going strong. It comes with a built-in HTML reporter, but those reports don’t fit my taste.

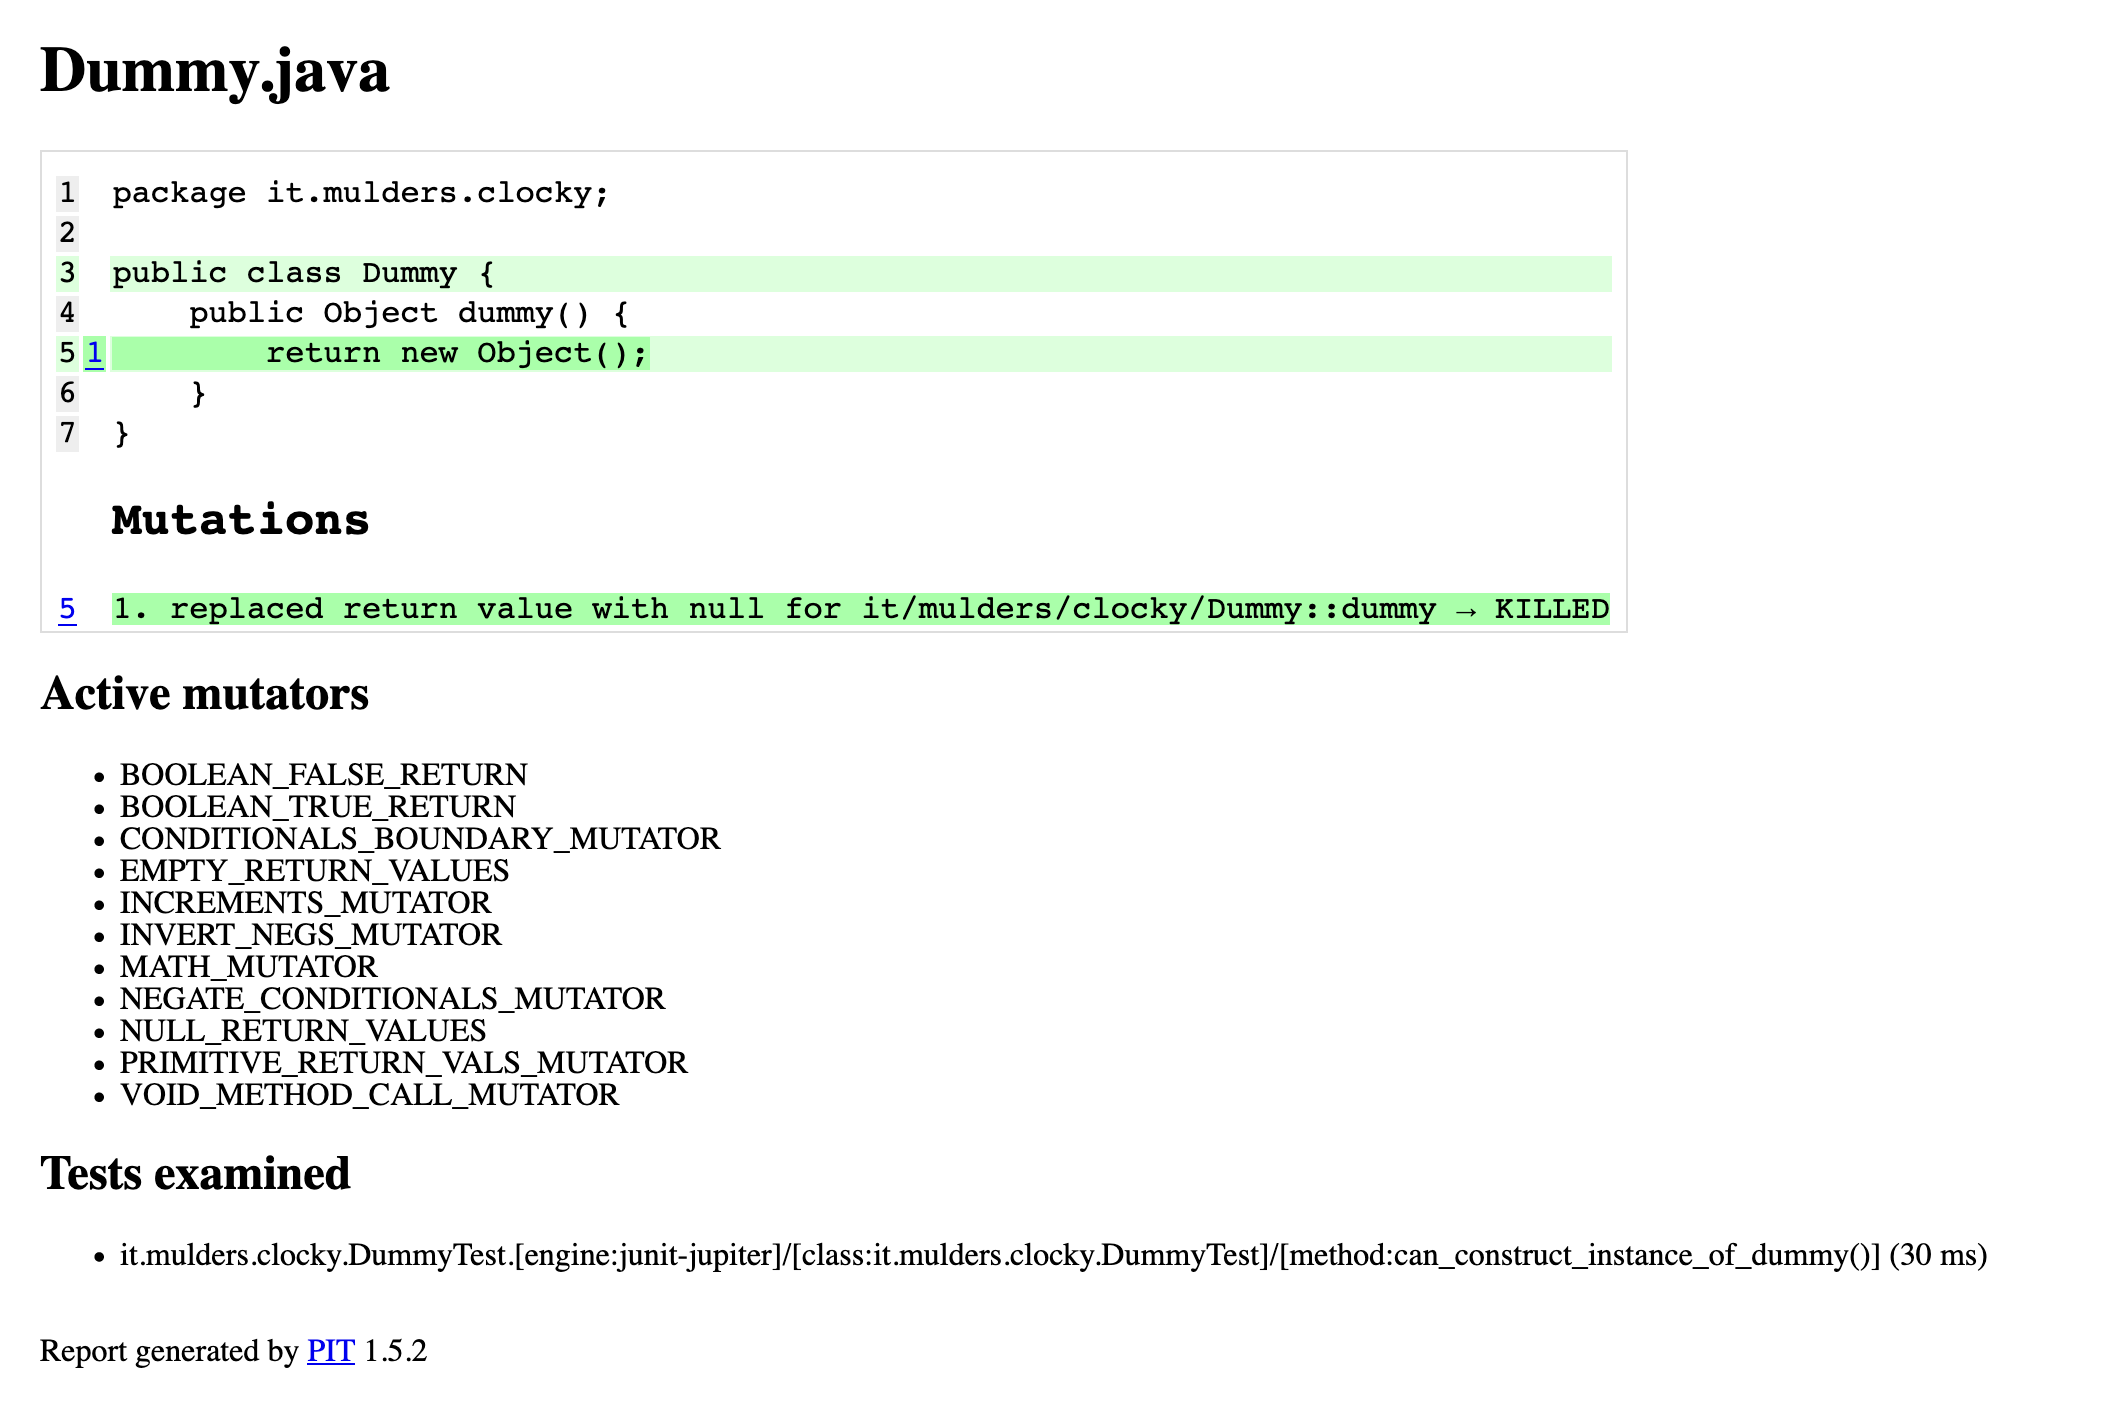
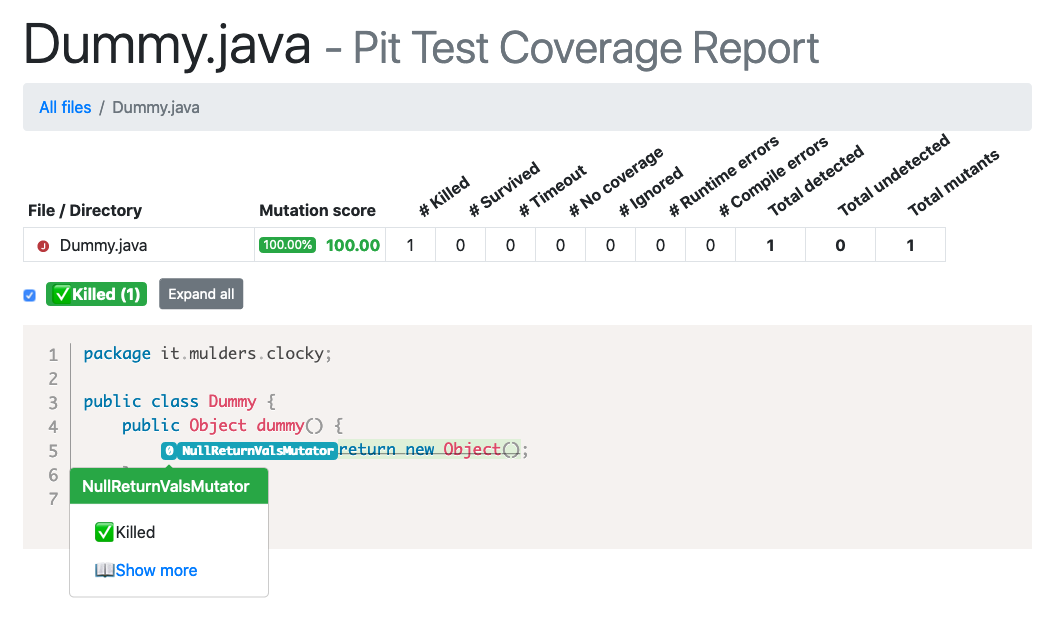
Fortunately, the Stryker Mutator team has ported their default HTML report so Pitest can generate it as well:

Both reports are generated from the same codebase and the same test suite.
The codebase itself is fairly simple:
public class Dummy {
    public Object dummy() {
        return new Object();
    }
}
And so is the test suite, written with JUnit 5 and AssertJ:
class DummyTest implements WithAssertions {
    @Test
    void can_construct_instance_of_dummy() {
        assertThat(new Dummy().dummy()).isNotNull();
    }
}
Both reports tell us that Pitest tried to replace the return new Object() statement with return null, and that this mutation did not survive.
Good!
Show Me the Badges!
Now that our codebase not only has good test coverage, but also has good tests, we want to show off this great achievement using a badge. The team behind Stryker Mutator is so passionate about good tests that they’ve built a dashboard where you can view the complete mutation testing report. This dashboard, of course, needs data to operate, and you can supply that data when you use Stryker Mutator by uploading it to the dashboard. Note that this is an optional thing, you can also run Stryker Mutator without using the dashboard.
But the dashboard can also generate a mutation score badge, which is a nice way to show how good your tests are!
This dashboard is fed by a reporter, and Stryker Mutator has one for all their platforms. Unfortunately, there is none for Pitest. But the good news is, the “enhanced” HTML reporter that we just saw generates a Javascript file that almost exactly matches with the data that the dashboard needs. The report.js file contains the report plus a bit of Javascript to place that somewhere in the Document Object Model (DOM).
In the approach below, I’m using Github actions, but the approach should work equally well on other CI platforms. We can use the report.js file to create our badge in a two-step approach:
1. Run Pitest
To run Pitest and get the “enhanced” report, we need to declare the Pitest Maven Plugin in our pom.xml:
<build>
  <pluginManagement>
    <plugins>
      <plugin>
        <groupId>org.pitest</groupId>
        <artifactId>pitest-maven</artifactId>
        <version>1.5.2</version>
        <dependencies>
          <!-- this dependency contains the "enhanced" HTML reporter -->
          <dependency>
            <groupId>io.github.wmaarts</groupId>
            <artifactId>pitest-mutation-testing-elements-plugin</artifactId>
            <version>0.3.1</version>
          </dependency>
        </dependencies>
        <configuration>
          <outputFormats>
            <!-- select the "enhanced" HTML reporter -->
            <format>HTML2</format>
          </outputFormats>
         </configuration>
      </plugin>
    </plugins>
  </pluginManagement>
</build>
In our job, we write:
    steps:
      # other steps, such as checking out the code and setting up the JDK ommited for brevity
      - name: Run Pitest
        run: mvn test-compile org.pitest:pitest-maven:mutationCoverage
It is important to invoke Mavens test-compile goal first.
Pitest works on compiled Java code - if we would invoke the test-compile goal there would be no code to mutate and no test to run, according to Pitest!
2. Upload the report to the Stryker Dashboard
Now that we have the report.js file, we can upload it to the Stryker dashboard. To do that, you need an API key, which is a unique secret key that matches your Github repository. Head to the Stryker Mutator dashboard, authenticate using your Github account and toggle the repository that you want to use. You will see your API key just once so make sure to copy it. If you ever forget it, you must disable and then enable the repository to get a new key. You must also do this when the key is leaked.
Take this key, go to the “Secrets” page of the corresponding repository on Github (it’s under Settings -> Secrets) and add a new secret.
The name of the secret is STRYKER_DASHBOARD_TOKEN and the value is the key you’ve just generated.
As I said, the report.js file contains all the data we need plus a little Javascript. To strip that off, I’ve written a small Bash script:
#!/usr/bin/env bash
set -Euo pipefail

# Whenever something goes wrong, clean up the temporary file
trap "rm mutation-testing-report.json" ERR

# Find the report.js file
reportJsLocation=$(find . -name "report.js")
echo Found report.js at ${reportJsLocation}
# Read the file
reportJsContent=$(<${reportJsLocation})
# Strip off the first 60 characters - yes, this is brittle :-)
report="${reportJsContent:60}"
# Store the data in a temporary file
echo "${report}" > mutation-testing-report.json

BASE_URL="https://dashboard.stryker-mutator.io"
PROJECT="github.com/${GITHUB_REPOSITORY}"
VERSION=${GITHUB_REF#refs/heads/}

# Finally, upload the data using the API key that we got
echo Uploading mutation-testing-report.json to ${BASE_URL}/api/reports/${PROJECT}/${VERSION}
curl -X PUT \
  ${BASE_URL}/api/reports/${PROJECT}/${VERSION} \
  -H "Content-Type: application/json" \
  -H "Host: dashboard.stryker-mutator.io" \
  -H "X-Api-Key: ${API_KEY}" \
  -d @mutation-testing-report.json

rm mutation-testing-report.json
Run this script from your Github action:
    steps:
      - name: Upload mutation test report
        run: ./.github/upload-mutation-report.sh
        env:
          API_KEY: ${{ secrets.STRYKER_DASHBOARD_TOKEN }}
Note the env key: it tells Github actions which additional environment variables to pass on to the script.
In this case, we refer to the secret that we just created.
In case that value is logged from the script (for instance because we used curl -v) it would be masked in the job output.
Run the job at least once to make sure the dashboard has some data available. Then add the badge to your README:
[Mutation testing badge](https://img.shields.io/endpoint?style=plastic&url=https%3A%2F%2Fbadge-api.stryker-mutator.io%2Fgithub.com%2Fmthmulders%2Fclocky%2Fmaster)
Live rendering for one of my projects:
Closing notes
- Whenever I write “The team behind Stryker Mutator”, I consider myself one of them. I’ve contributed a few small patches, but the majority of the work is done by a bunch of amazing people.
- It may be tempting to aim for 100% mutation coverage. I would argue against that. There will always be spots in a codebase that are hard to target for tests, let alone for tests that detect any changes. A mutation coverage of 100% means that every change is detected by a failing unit test. Mutation testing has become a “change detector”, and I think Git does a better job at that ;-).
